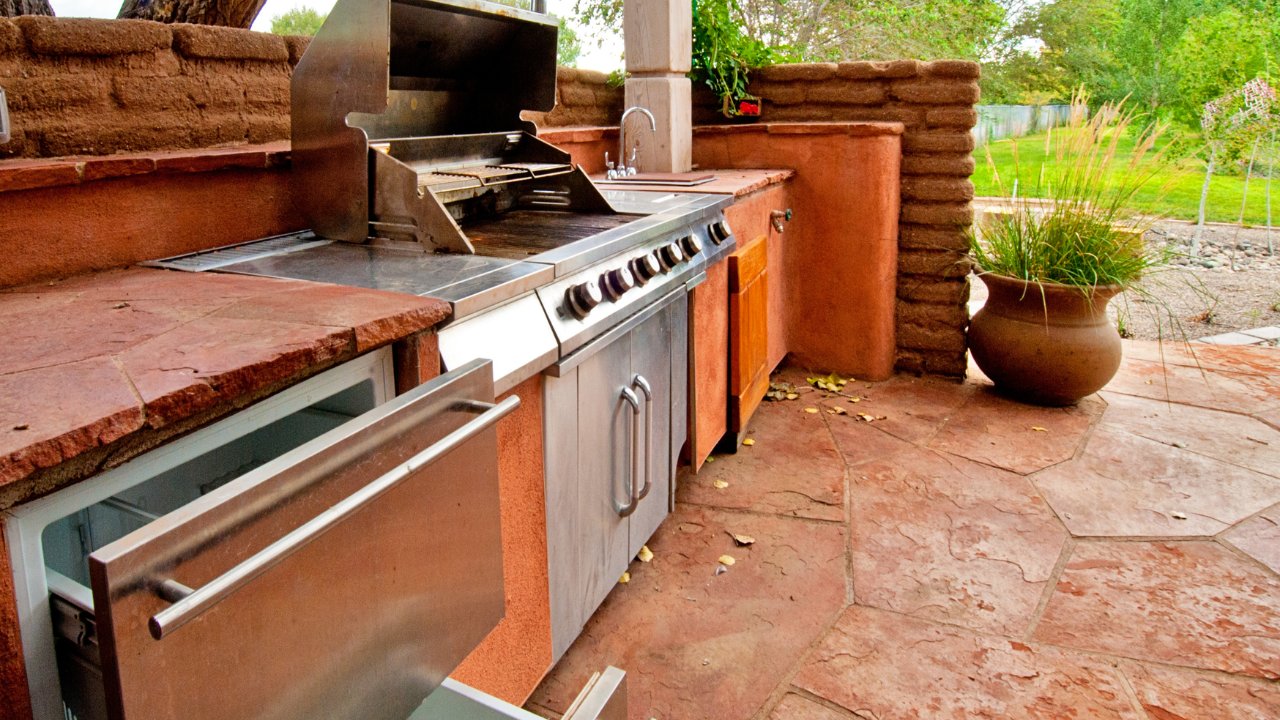
Ever dreamed of grilling in your own outdoor kitchen? Whether you’re a weekend warrior or a DIY enthusiast, building your own outdoor kitchen can be a rewarding project. But where do you start?
In this DIY kitchen remodeling guide, we’ll walk you through every step, from planning and design to the final installation. Let’s dive in and help you turn your backyard into a fully functional and stylish cooking space!
Before jumping into construction, the first and most important step is planning your outdoor kitchen layout. This ensures your project is both functional and cost-effective. Consider the following questions:
Pro tip: Keeping your outdoor kitchen close to your house can save money on utility connections. The shorter the distance you have to run gas, water, or electric lines, the better for your budget.
When building a DIY outdoor kitchen, choosing the right materials is key for both durability and aesthetics. You’ll want materials that can withstand the elements and offer long-term value. Here are some options to consider:
Keep in mind that investing in quality materials may have a higher upfront cost, but it will save you from future repairs and replacements.
Most outdoor kitchens require a solid base. If you don’t already have a patio or deck in place, you’ll need to pour a concrete slab or install pavers to create a stable foundation. Make sure the area is level and that your foundation can support the weight of your kitchen appliances, countertops, and cabinets.
When it comes to choosing appliances for your outdoor kitchen, start with the essentials. A grill is usually the centerpiece, but you might also consider adding:
You don’t have to go overboard right away—starting with just a grill and storage is a great way to begin. You can always add more appliances later as you expand your outdoor cooking space.
Good kitchen design isn’t just about looks—it’s about how easy and comfortable it is to use. Consider these accessible kitchen design tips when planning your outdoor space:
One of the trickiest parts of building an outdoor kitchen is dealing with the utilities. If you’re planning to install appliances like a sink, fridge, or grill with a gas line, you’ll need to consider the logistics of plumbing, gas, and electrical connections.
Lighting is also an important feature in your outdoor kitchen, especially for evening use. Use task lightingDefinition: Focused lighting used to illuminate specific work areas, such as under-cabinet lights in... over cooking and prep areas, and add ambient lighting to the seating or dining areas for a warm and inviting atmosphere.
Now that you’ve planned, prepped, and purchased your materials and appliances, it’s time to assemble and install everything. If you’ve opted for pre-fabricated modules, assembly is often straightforward and can be handled without professional assistance.
However, if you’re custom-building elements like countertops, custom kitchen cabinets, or running utilities, hiring a professional kitchen contractor for specific tasks can ensure the job is done safely and meets building codes. A contractor can also help bring your vision to life if you’re looking for custom finishes or intricate designs.
Once your outdoor kitchen is fully installed, it’s time to add personal touches. Consider adding:
While building your outdoor kitchen DIY-style is a rewarding project, it can also be a complex one. Partnering with an experienced kitchen contractor can help you navigate trickier aspects, like utility installation, foundation work, or custom cabinetry.
They can also provide expert accessible kitchen design tips, ensuring that your outdoor kitchen is both functional and safe for all users.
Ready to transform your backyard with a fully equipped outdoor kitchen? At Bradco Kitchens + Baths, we specialize in designing and building outdoor kitchens that meet your unique needs.
Whether you’re tackling a DIY project or seeking professional help, our team is here to guide you through every step of the process. Contact us today to start planning your perfect outdoor kitchen!
BOOK AN APPOINTMENT